In the previous post, I explained the basic idea that is used to draw orbits using line segments, and a little trick to make even very elliptical orbit look good. So, this is where we are:

But if we zoom in:

What is going on?! I thought we had taken care of spreading the line segments to hide the angle as much as possible!
A distraught hypothetical reader
Well, true. But we did it assuming we were looking straight down at the ellipse. Here, perspective comes into play. Although it conserves lines, perspective has the nasty habits of effecting angles. Here, it magnifies the angles between segments around the point where the orbits appear to bend towards the left. On the contrary, the segments on the left part look pretty much aligned.
But it’s okay. We only need to add a few more points close to the camera to compensate for this. It does mean that they will move as the object follows its orbit.

But wait, there is more!

This is not the path of the Earth-Moon barycenter, which is the surface of the Earth anyway. The line really should pass through the center of the Earth.
So, what is going on? We do have a nice smooth-looking orbit, but it is still an approximation. It just so happens that we have looked at a time when the Earth was in the middle of a line segment. In the diagram below, you can imagine that the line segment is BX and the Earth is betwen the two.

This becomes more apparent as we speed things up:

To avoid this, we just need to ensure that at least one point of our orbit is always in the middle of the Earth. Actually, we can just make it so that it is one of the additional points from earlier!

Actually, that was the easy part. Now let’s zoom a bit more for the fun one:

To understand what is going on, we need to dive into how we actually calculate the positions of the points of our orbit. Digital computers only know about discrete values (that’s what the “digital” mean). The basic unit is the “bit” (0 or 1) and, by using several bits, we can count natural integers fairly easily (0, 1, 10, 11, 100, 101, 110, 111, 1000). Add a sign bit, and we’ve got relative integers. We’re not going to be able to represent arbitrary real numbers short of using symbolic computation, but we can at least get something good enough by using decimals. The idea is that we would use two relative numbers: one for the number’s digit, and one to tell where the decimal point should be. And that’s exactly what computers do. Well almost.

Technically, computers use binary instead of base ten, but the principle is the same. If we really want to use base 10, we can, albeit it’s slower:

But the important point to keep in mind when working with non-integer values with computers is that they are (usually) only approximations of the number we want.

We can get a good idea of the approximation. There are two usual formats used to represent non-integer: binary32 and binary64, more commonly known as float and double respectively (although Python’s float is binary64). The relative error of a binary32 is roughly 2⁻²⁴ and the relative error of a binary64 is roughly 2⁻⁵³.

Rendering to a screen which is no more than 8,000 pixels a size should not require more than binary32. So this is what is normally used for rendering. Using binary64 here would degrade performance a lot. But it does mean that we are getting imprecision when drawing things naively.
Let’s say the Sun is the center of our system of coordinates, and we use SI units. Then, the Pluto is 5.9 Tm from the Sun. For rendering, we are going to compute the positions of every object relative to the Sun, compute the position of the camera (our point of view) relative to the Sun, and subtract the second from the first to find the position of the objects relatively to the camera.
Since this is naturally done during the rendering in the GPU shaders, we use binary32. The error from doing computations in binary32 is roughly 352 km in this case. So, let’s start from the camera position; we are at a distance of 0 (exactly). Then, let’s move to the Sun; we are at a distance of 5.9 Tm±352km (relatively precise). And let’s move back to Pluto; we are at distance of (5.9 Tm±352km) – (5.9 Tm±352km) = ±352 km (not very precise). This is called loss of significance.
We really want to avoid doing such a computation in binary32. We must either switch to using binary64 in the rendering, or avoid doing this computation in the shaders entirely. We really want to avoid doing the first one, since it can slow down the rendering significantly, and not all GPUs even support it.
How do we avoid doing this computation in the shaders then? The most intuitive approach seems to switch the system of coordinate to take Pluto as center. But this has issues too, since we still have the exact same imprecision when switch from one coordinate to the other. The solution I opted for is actually simple: I do the imprecise computation using binary64 outside the shaders, which lets me have millimeter precision around Pluto. It can be seen as switching coordinates, but only for part of the rendering.

Note: I use the same technique when drawing celestial bodies. This is actually why the object being observed is well positioned at the center of the screen and do not move erratically (unlike in the example below).
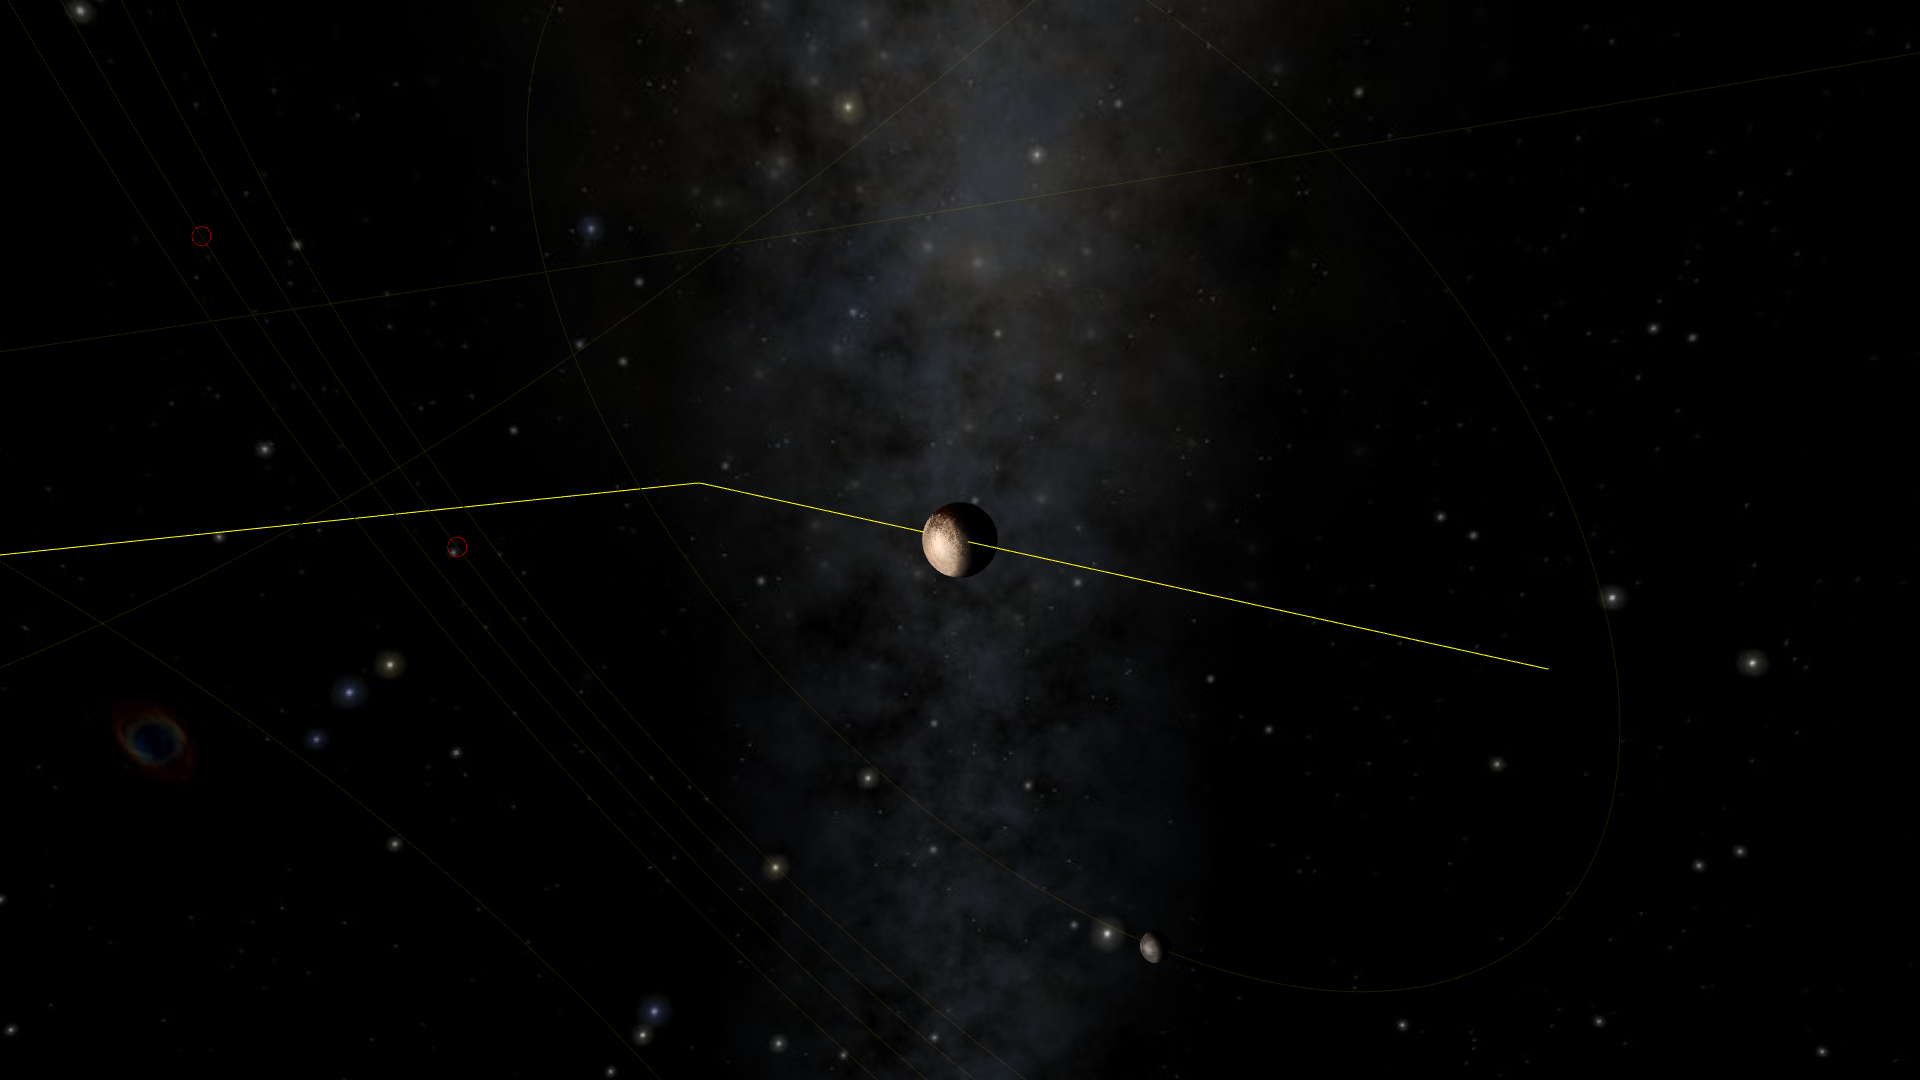
This is not all roses however. For instance, if we look at Pluto from the Earth.

Since the camera is positionned at the center of the Earth, the distance to Pluto is of the order of 6 Tm. With this level of zoom however, we can distinctly see the imprecision of roughly 350 km, causing the dwarf planet to not be perfectly centered in the screen.
Changing the system of coordinates is not quite enough, since the camera is not close to the observed object. So I will need ot find another workaround.
So, seriously, don’t let the floating point bugs bite.

Leave a Reply