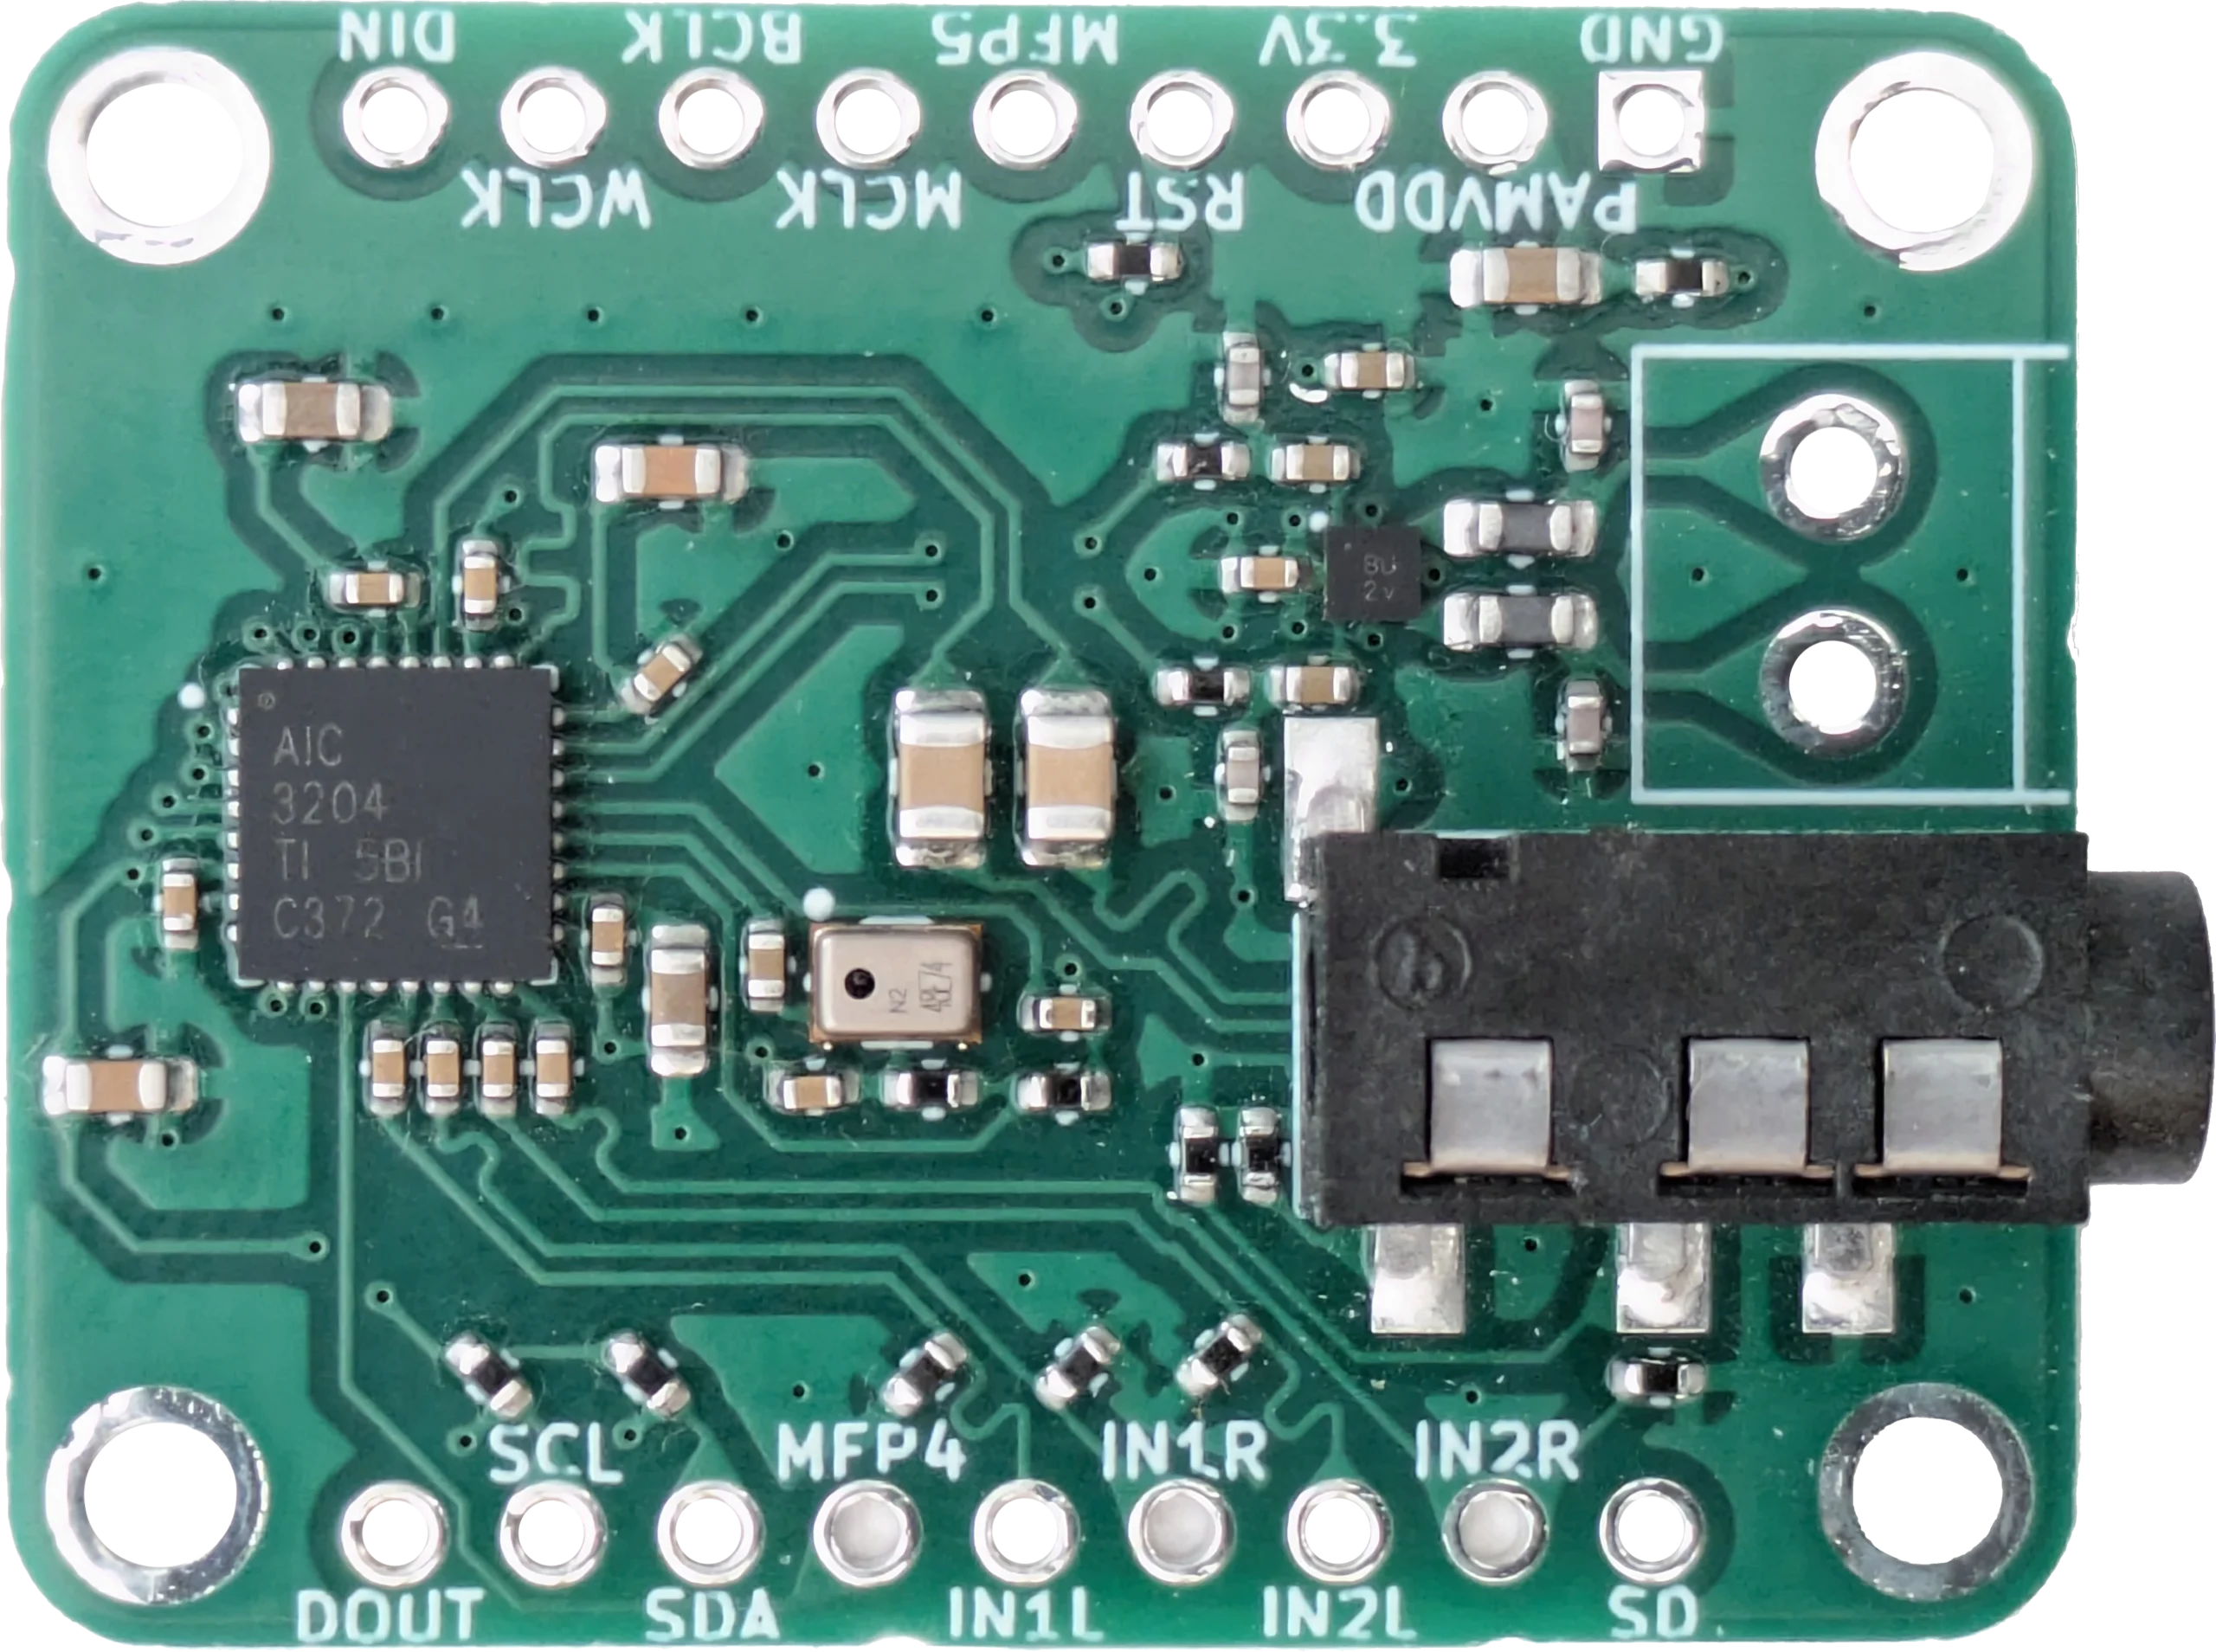
tl;dr: The files are on GitHub.
I had some fun with the Adafruit TLV320DAC3100. This is a small board built around the (TLV320)DAC3100 audio chip. “DAC” stands for “Digital-to-Analog Conversion”; that is, it takes some audio signal (here, I²S) and converts it to the analog equivalent (differential for speakers, single-ended for headphones).

Microcontrollers typically don’t have analog output, and getting analog circuitry right can be tricky. With something like the DAC3100 board, you can just tell the chip what sound you want to produce, without worrying about interference, and the chip will do the rest.
The other side would be “ADC”, or “Analog-to-Digital Conversion”. Most microcontrollers do have built-in ADC pins, and that’s often good enough.
But I wanted a challenge.
The AIC3204, the DAC3100’s sibling, does both DAC and ADC (it’s a codec), but there are no cheap eval boards out there1. Or, at least, there weren’t. Besides (and the actual reason), it would be a good way to practice designing a non-trivial PCB without much at stake.
Before committing to anything in hardware, I made a prototype using a breadboard:

Then made the schematic in KiCad:

Placed the components and wired them:

Took a look at the 3D render:

And finally2 placed an order with JLCPCB on July 25th. I received them in my mailbox on August 6th. The minimum order was 5 boards, so I received 5:

For a closer look:

In the end, I was able to replace this whole breadboard:
With just this (I didn’t have a spare screw terminal lying around, so I just soldered the speaker):

If you want to make your own, you’ll find all the information necessary in the corresponding GitHub repository.
- If you drop the “cheap” qualifier, you can buy the TLV320AIC3204EVM-K for $261.45. ↩︎
- The previous steps actually took me a combined 49h. Granted, I was learning component picking, PCB stack-up, PCB layout and KiCad too. ↩︎

Leave a Reply